Rebuilding My Website
Side-project rebuilding my website, moving away from Notion
- web
- js
- astro
- tailwind
Last modified:
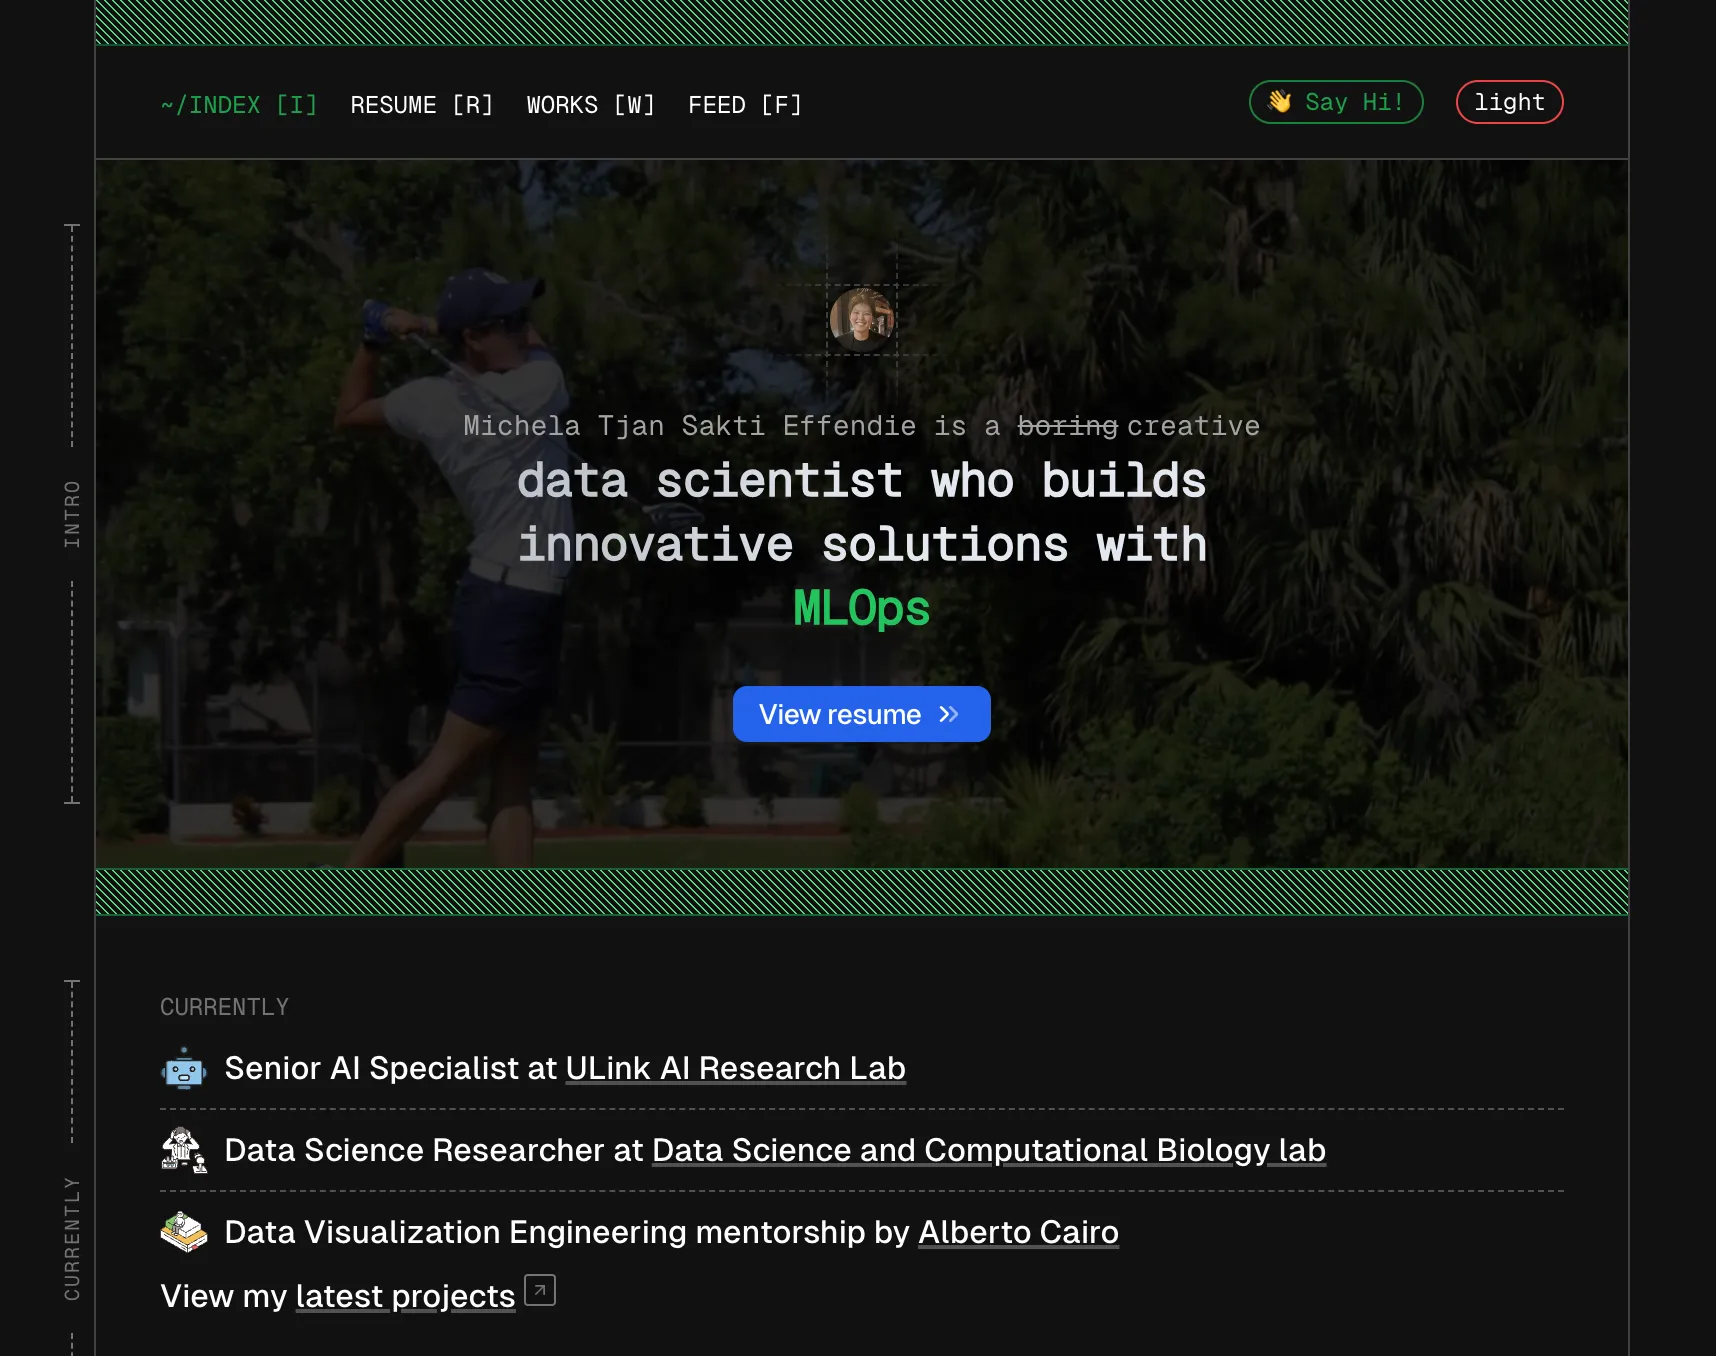
As a data scientist and AI researcher, having a personal website to showcase my work, projects, and accomplishments is crucial. My old website, which was hosted on Potion as a Notion site, served its purpose for a while. However, I wanted more control over the design and functionality of the site, so I decided to rebuild it using modern web development tools.
In this blog post, I’ll walk you through my journey of rebuilding my personal portfolio website, focusing on the tools I used: Astro and TailwindCSS.
Why Rebuild the Website?
The main motivation behind rebuilding my website was to have full control over its structure, design, and performance. I wanted a clean, minimalist design with fast loading times and a smooth user experience. Here are some of the key reasons I decided to move away from Notion and build my website from scratch:
- Customization: I wanted the flexibility to design the website exactly how I envisioned it. Notion offers limited customization options, and I needed more freedom to create a unique experience.
- Performance: I’ve always been passionate about optimizing the performance of my projects, and a static site would be much faster than a traditional CMS-based one.
- Learning Opportunity: I wanted to have more experience in modern web development practices, particularly learning Astro and TailwindCSS.
The Tools I Chose
Astro
Astro is a modern static site generator that allows you to build websites using various frameworks like React, Vue, or Svelte, while also enabling you to write plain HTML, CSS, and JavaScript. The key feature of Astro is its ability to deliver minimal JavaScript by default, making websites built with it super fast.
I chose Astro for several reasons:
- Speed: Astro’s philosophy is to send the least amount of JavaScript to the browser. It optimizes performance by using static site generation (SSG) while giving you the flexibility to include interactivity only when necessary.
- Multi-Framework Support: Astro supports React, Vue, and other frameworks, but I decided to stick with basic HTML and CSS for simplicity. This way, I could keep the site lightweight without the overhead of large frameworks.
- Developer Experience: Astro provides a smooth development experience with features like automatic caching, an easy-to-use file structure, and a built-in development server.
TailwindCSS
TailwindCSS is a utility-first CSS framework that makes styling websites incredibly fast and efficient. Instead of writing custom CSS for every component, you apply utility classes directly to your HTML elements. This approach allows you to build highly customizable, responsive, and maintainable designs without writing a lot of custom CSS.
Why I chose TailwindCSS:
- Fast Development: The utility-first approach allows me to quickly prototype and build out designs. I can change styles in real-time by simply modifying classes in my HTML file.
- Responsiveness: TailwindCSS makes it incredibly easy to create responsive layouts that work well on all screen sizes. With just a few utility classes, I can make my site mobile-friendly.
- Customizability: Tailwind’s configuration file allows you to extend the default configuration with custom colors, fonts, spacing, and more, making it easy to create a unique look for my website.
The Development Process
Step 1: Setting Up the Project with Astro Getting started with Astro was surprisingly easy. After installing Astro globally, I created a new project using the following command:
npm create astro@latestThis initialized the project and prompted me to choose a template. I went with the default template, which provided a clean and simple starting point for building the site.
Once the project was set up, I installed TailwindCSS. Astro provides an official integration for Tailwind, making the setup process smooth:
npm install tailwindcss postcss autoprefixer
npx tailwindcss init
I then configured the TailwindCSS settings to work with Astro by modifying the tailwind.config.js file and setting up the necessary CSS imports in src/styles/global.css.
Step 2: Designing with TailwindCSS TailwindCSS made it incredibly easy to build the layout for my site. I followed a similar structure to Alex Carpenter’s website. I began by structuring my homepage with a hero section, followed by project showcases, about me, and contact details. Here’s an example of how I structured my hero section at the beginning of the project:
<section class="bg-blue-600 text-white text-center py-20">
  <h1 class="text-4xl sm:text-6xl font-bold">Hi, I’m Michela Tjan Effendie</h1>
  <p class="mt-4 text-xl">AI Scientist & Data Science Enthusiast</p>
</section>
The use of utility classes made styling extremely fast, and I didn’t have to worry about managing large CSS files. I could adjust margins, paddings, colors, and typography directly in the HTML.
Step 3: Adding Interactivity with Astro Components Astro allows you to create reusable components, which is great for organizing the code and maintaining a clean structure. I created components for the navigation bar, footer, and project cards. These components helped me avoid repetitive code and made the website easier to maintain.
For example, the navigation bar component might look like this:
---
// components/NavBar.astro
---
<nav class="bg-gray-800 text-white py-4">
  <ul class="flex justify-center space-x-8">
    <li><a href="#about" class="hover:text-gray-400">About</a></li>
    <li><a href="#projects" class="hover:text-gray-400">Projects</a></li>
    <li><a href="#contact" class="hover:text-gray-400">Contact</a></li>
  </ul>
</nav>
This component was imported into the main page, making the code modular and easy to update across the site.
Step 4: Optimizing for Performance One of the main reasons I chose Astro was for its performance optimization. Astro automatically handles things like lazy loading for images and static assets. I took advantage of these optimizations by ensuring that images were appropriately sized and by using the astro-img component to load images efficiently.
For example:
---
// components/ProjectCard.astro
import { Img } from '@astro/img';
---
<div class="project-card">
  <Img src="/images/project1.jpg" alt="Project 1" class="w-full h-64 object-cover" />
</div>
This ensures that the images only load when they enter the viewport, improving load times significantly.
Launching the Website Once the site was ready, I deployed it to GitHub Pages. Astro makes it easy to deploy with its built-in support for static site generation. After pushing the project to GitHub, I used GitHub’s Pages feature to deploy the site with the following steps:
- Go to the repository’s Settings.
- In the Pages section, select the branch to deploy (I chose main).
- Add a custom domain (e.g., tjanmichela.com) in the GitHub Pages settings.
- After configuring the domain and setting up DNS records, my site was live at tjanmichela.com.
What I Learned
Building my website from scratch with Astro and TailwindCSS was an incredible learning experience. I learned how to:
- Build a static site that loads incredibly fast with minimal JavaScript.
- Use TailwindCSS to quickly create responsive, customizable designs.
- Organize my project with reusable Astro components.
- Deploy and host my website with GitHub Pages and configure a custom domain.
The whole process reinforced my passion for web development and allowed me to create a personalized, fast, and responsive website that perfectly represents my work as a data scientist.
Conclusion
Rebuilding my website was a rewarding journey, and I’m thrilled with the result. Astro and TailwindCSS allowed me to combine flexibility and speed while keeping the project manageable. Whether you’re building a personal portfolio or a complex web application, I highly recommend giving these tools a try. They’ve made web development more efficient, enjoyable, and accessible than ever before.
Browse through my website and let me know your thoughts!